
SWAT Elite Force Door Traps & Breaching
Restored cut content that punishes lazy opens. Spot the wired box, clear the trap, then breach with intent.
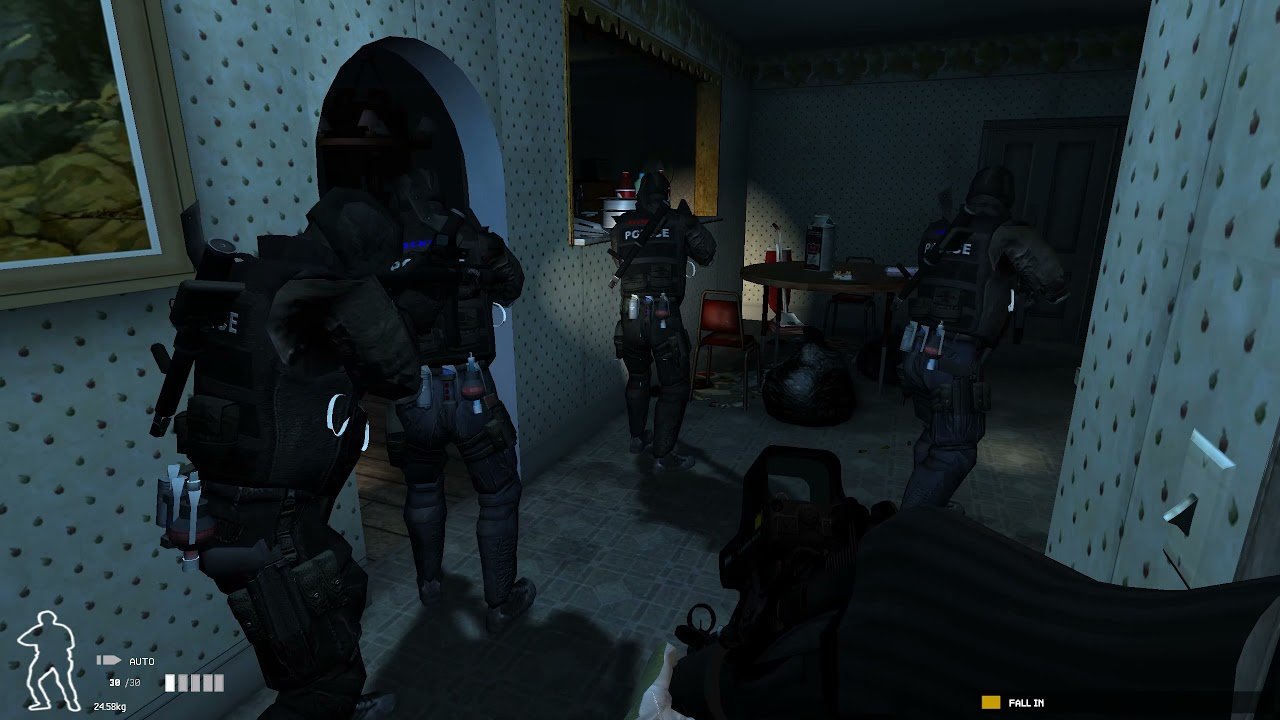
Why traps matter in SWAT: Elite Force
Door traps are a restored cut feature in SWAT: Elite Force. Vanilla SWAT 4 players often treat every closed door as a free open-and-clear. In SEF that habit ends careers. Triggering a trap activates it and applies a score penalty, so even a “survived” boom can wreck an Authoritarian or Hardcore run. Higher difficulty raises how often traps appear and how aggressively they spawn, which is why Fairfax-style homes and hardcore maps teach trap discipline early — see the Campaign Walkthrough.
Traps show up as a wired box above the door lock, exposed on one side of the door only. You must get eyes (or an Optiwand) on that exposed face before you trust a breach. Opening or breaching without disarming is what sets the device off. Important nuance: suspects and civilians opening a trapped door do not trigger the trap. That opens a legitimate (if unorthodox) play — make noise so hostiles open the door themselves and walk the hazard for you.
If you are still installing or learning the UI loop, start from Getting Started and the Guides Hub, then come back here before you sprint Fairfax doors blind.
Alarm traps vs explosive traps
SEF uses two trap flavors:
- Alarm traps — alert nearby suspects when tripped. The room wakes up; angles collapse; your carefully planned quiet entry becomes a gunfight.
- Explosive traps — injure anyone nearby when tripped. They punish stacked stacks in the jamb and can drop officers who thought “just open it.”
Both share the same visual language (wired box over the lock, one-sided exposure). Treat every unknown door as potentially trapped until you have mirrored or visually confirmed a clear frame. Difficulty does not invent a third magic type — it mainly turns the spawn dial.
Detection: Optiwand looking up
The reliable detection tool is the Optiwand. Mirror up toward the lock so the camera catches the box on the exposed side. Flat mid-door mirrors that only scan for ankles will miss traps that sit high on the frame.
AI officers with an Optiwand can be ordered to Mirror for Traps / Check for Traps (later notes rename the flow toward Mirror for Traps; the requirement stays the same: someone must actually carry an optiwand). Pair that with Mirror for Contacts and Mirror for All when you need both threat and device information before you commit. Speech-friendly Element leaders can call these lines aloud — phrase coverage lives on Speech Commands.
Never assume a door is safe because the last room was quiet. Trap chance scales with difficulty; hardcore careers will farm you for skipping the wand.
Disarming and defeat options
Once you know which side exposes the box:
- Move to the exposed side and use the Toolkit to disarm.
- Order AI to remove the trap while you aim at the exposed device — useful when you are covering the opposite angle.
- Alarm traps can also be defeated with C2 from the other side without looping around for the toolkit. You trade quiet for a planned breach that still avoids the alarm penalty path.
- Explosive traps demand real disarm or a plan that never puts your stack on the wrong side of a boom.
If the Element has no toolkit and no path to the exposed side, stop stacking on the knob. Re-route, wedge adjacent doors, or force a suspect open with noise rather than eating the activation.
Loadout reality: trap-heavy maps want Optiwand + Toolkit on the Element every time. Packing four flashbangs and zero information tools is how co-op groups farm their own penalties — build kits in Loadouts, Weight & Bulk.
Door realism that changes breach habits
SEF’s door model is stricter than casual vanilla muscle memory:
- Melee can check a lock without opening the door — gather information before you commit the leaf.
- Any shotgun can breach, but material and shot count matter; soft doors may fall faster than heavy construction.
- The M870 Breaching configuration is the dedicated one-shot breacher when you need a clean mechanical open.
- A shotgun breach does not swing the door open like C2. Typical flow: shoot the knob/lock area, then manually open. Do not stand in the imaginary “C2 vacuum” waiting for the leaf to fly.
- Broken doors can still be closed and wedged. After a messy breach, re-seal the leaf if you need to cut flanking paths.
That last point matters on multi-room residences: a breached door left flapping is a free rotation lane for suspects who just heard your alarm trap elsewhere.
Command flow for unknown doors
Default discipline on unknowns:
- Try Lock — learn locked vs unlocked without diving in.
- Mirror for Contacts / Traps / All — gather bodies and devices.
- Disarm if needed (toolkit, AI remove, or C2 defeat on alarms).
- Open and Clear once the door state is known and safe.
- When force is required, pick a Breach package (shotgun or C2) and run Breach and Clear with the Element stacked on the correct side.
Keep wedges ready so a cleared room stays yours. Less-lethal stacks still need the same trap discipline — a beanbag primary does not disarm a wired box. Role fit after v7.2 changes is covered on the Less-Lethal Tier List and the broader Tier List hub.
First Responders note (separate mod)
First Responders (FR) is a separate mod, not part of core SEF. FR leans harder into battering rams and material-aware doors. If you mix FR content with Elite Force, do not assume every SEF trap rule or breach animation ports one-to-one — read FR-specific guidance on First Responders and keep SEF trap SOPs for SEF maps.
Mission practice and patch awareness
Fairfax Residence and other early hard lessons punish skip-mirror habits. Use them as a deliberate drill: wand high, call traps, toolkit the exposed side, then open. On hardcore careers a single explosive activation can end more than a room clear — it can end the run’s score envelope.
When SEF patches tweak AI orders, optiwand prompts, or breach tools, skim the v7.2 Changelog so renamed Mirror-for-Traps wording does not confuse your binds. For settings oddities after a patch, use Tools and the site Wiki Overview.
Quick checklist before you touch the knob
- Someone on the Element has an Optiwand.
- Someone has a Toolkit (or a C2 plan that legitimately defeats an alarm trap).
- You mirrored up at the lock, not only at floor contacts.
- You know which side exposes the box.
- Shotgun breachers remember: shoot, then open — it is not automatic C2 swing.
- Broken leaves can be closed and wedged again.
- Noise plays exist when you cannot reach the exposed side safely.
Traps are not random grief; they are SEF restoring a layer of door craft the base game cut. Respect the wired box, keep information tools in the kit, and your Authoritarian clears stop dying on the jamb.
Frequently Asked Questions
Quick answers to the most common questions.
Do door traps exist in vanilla SWAT 4?
Traps are a restored cut feature in SWAT: Elite Force. Vanilla play does not train the same Optiwand-and-toolkit door discipline SEF expects.
What is the difference between alarm and explosive traps?
Alarm traps alert nearby suspects when triggered. Explosive traps injure people near the door. Both appear as a wired box above the lock on one exposed side.
How do I detect a trap before opening?
Use an Optiwand and look up toward the lock on the exposed side. AI with an Optiwand can Mirror for Traps / Check for Traps (later noted as Mirror for Traps).
How do I disarm a door trap?
Reach the exposed side and use the Toolkit, or order AI to remove the trap while aiming at the exposed device. Alarm traps can also be defeated with C2 from the opposite side.
Do suspects or civilians trigger traps when they open doors?
No. Only your Element’s open or breach without disarming activates the trap. You can sometimes force suspects to open trapped doors with noise.
Does a shotgun breach swing the door like C2?
No. Shoot the lock/knob area, then open the door manually. The M870 Breaching setup one-shots when you need a dedicated breacher; other shotguns may need more shots by material.
What should I bring on trap-heavy maps?
Always keep an Optiwand and Toolkit on the Element. See the loadouts guide for weight and bulk tradeoffs when packing breach and mirror tools.